I’ve been waiting for some new CTF’s to be published on VulnHub, but in the meantime, I decided to have a crack at mhz_cxf: c1f, published on the 24th April. This CTF is marked as ‘a piece of cake’, so I don’t expect any challenges here.
I’ve also recently installed BackBox Linux, as an alternative to Kali, so figured an easy CTF would be good to try it out.
If you are new to CTF exercises, perhaps this is a good one to get started? As this is rated as ‘Easy’, I’ll probably go into a bit more detail than normal, assuming you’re new to all of this.
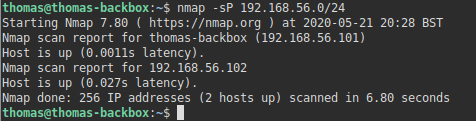
The first thing to do is establish the IP address of the vulnerable machine. To do this, I scan the subnet using NMAP.
nmap -sP 192.168.56.0/24This identified the CTF as having 192.168.56.102 as its IP address.
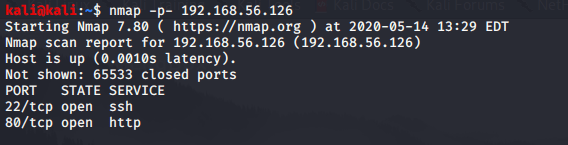
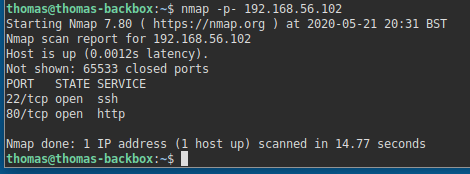
After getting the IP address, we can use NMAP to identify any open ports:
nmap -p- 192.168.56.102You may find a few variations of how people run this command. The parameters/flags I’ve specified here make the scan a lot more broad and identify ports in unusual ranges.
This identified two open ports. SSH (Port 22), and a Web Server (Port 80).
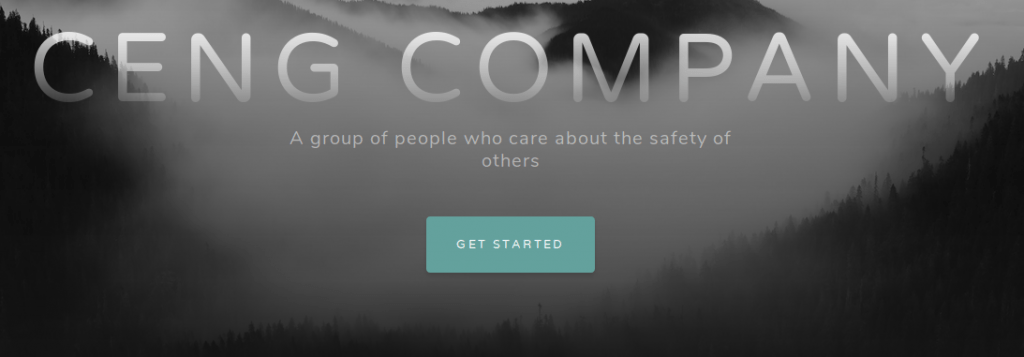
Usually, if there’s a web server, that’s probably the best place to look initially. I fired up Firefox, and loaded the website.
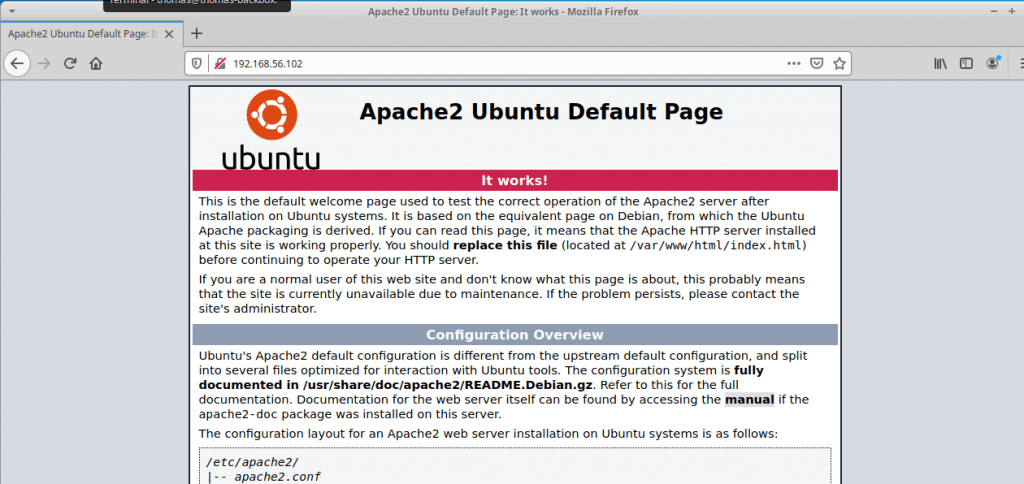
This page is just the default page for an Apache installation on Ubuntu, so it doesn’t look like there’s anything on this website yet. Not on the front page at least, anyway.
There’s a handy tool called DIRB which can scan a website for common directories. I loaded up a terminal, and ran the DIRB tool:
dirb http://192.168.56.102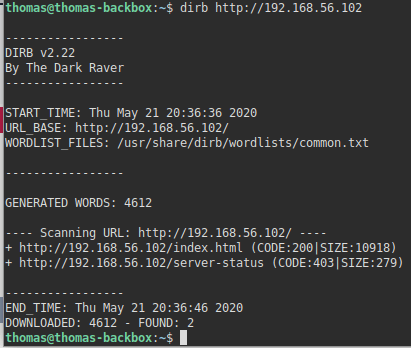
This didn’t reveal anything new/useful. By default, DIRB uses a ‘common’ wordlists, but you can change this so it uses a bigger wordlist:
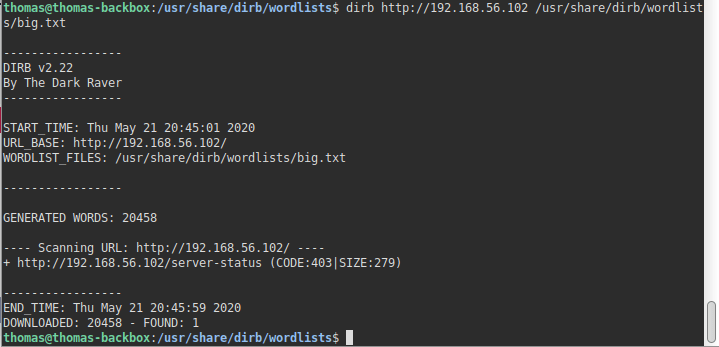
dirb http://192.168.56.102 /usr/share/dirb/wordlists/big.txtAs I’m using BackBox Linux (rather than Kali), this is the location of the wordlists for DIRB. If I remember correctly though, it’s in the same location for Kali Linux, but you may need to adjust the path slightly if not.
The new wordlist was equally as useless though.
You can also get DIRB to append file extensions to the words from the wordlist. That’s probably necessary here (I hope so at least! This is marked as ‘Easy’). Let’s try .html, .php, .phtml, and .txt.
dirb http://192.168.56.102 /usr/share/dirb/wordlists/big.txt -X .php,.phtml,.txt,.htmlThis found a file that may be of use! notes.txt – I put this into Firefox, and here is what I saw:

Let’s have a look at remb.txt, and remb2.txt.
remb.txt:

remb2.txt has already been deleted, by the looks of it.
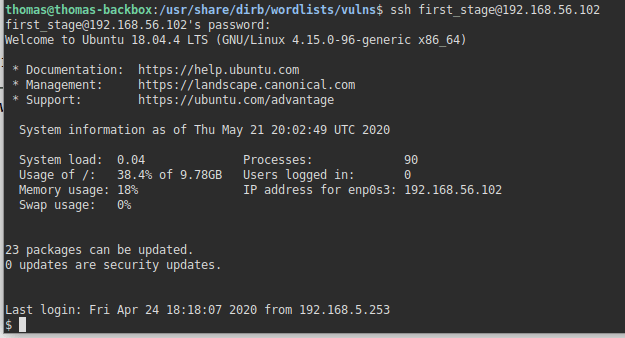
The contents of the first file looks like it may be a username/password combination. We know that this server has the SSH service running, so I loaded up my terminal, and connected to SSH.
ssh first_stage@192.168.56.102After putting in the password, I connected and authenticated successfully.
When we have a shell, the next step is to work out how to elevate our privileges.
First, it’s useful to find out what commands we can run using the Sudo tool. Sudo is a utility that allows a user to run a command with the security context of another user (by default, the root user). You can identify which commands the current logged in user is allowed to run with Sudo by running the following command:
sudo -lThis prompted me for a password, but in this instance, we know what the user password is, so I put this in and ran the command.
I received a message back advising the current user wasn’t allowed to run a command using Sudo. It looks like we’ll need to find another way.
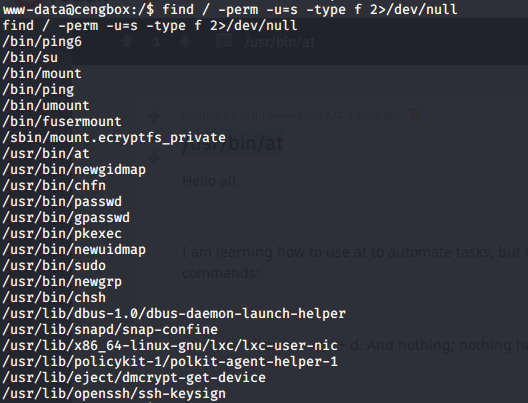
Another thing we can check for is binaries which have the SUID bit set. If a binary has the SUID bit set, its effective UID becomes the owner of the file, opposed to the user who is running it. Sometimes, we can abuse this.
find / -perm -u=s -type f 2>/dev/null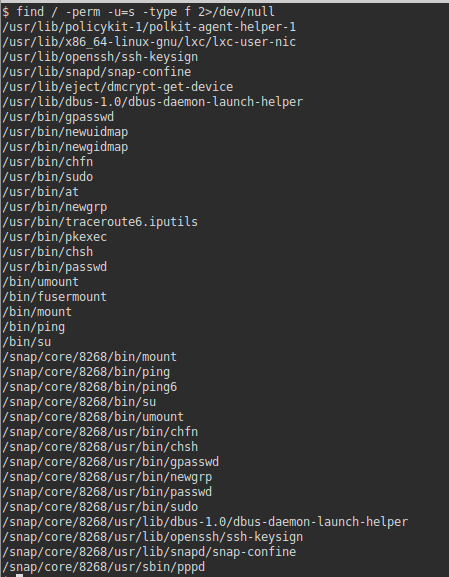
Naturally, there is going to be a lot of binaries listed here. So we need to look for things out of the ordinary. Identifying binaries that look out of the ordinary will come with experience. Out of this list, nothing catches my eye. I also searched for files with 0777 file permissions. Files with 777 permissions can be modified by anybody – this is sometimes helpful if we know a scheduled job being run by the root user is executing a file as we’d be able to modify that file and change what that user was executing.
find / -type f -perm 0777This again though didn’t reveal anything of interest. I decided to have a look around the shell instead to see what I had access to.

I probably should have listed the contents of the directory I was in earlier, but oh well. I listed the directory contents, and saw a file ‘user.txt’ – when I ran the cat command on it, I was able to see the contents. Nothing useful here but worth mentioning nonetheless.
I navigated to the /etc directory and looked at the passwd file. In Linux, the passwd file contains a list of all the usernames on the server.
cd /etc
cat passwd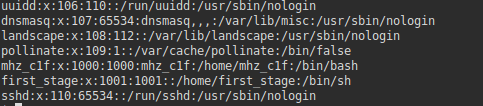
It looks like there is another user here ‘mhz_c1f’ – we may need to try and login as this user at some point before escalating our privileges to root.
I decided to see if I could access the users home folder.
cd /home
ls
cd mhz_c1f
ls
cd Paintings
ls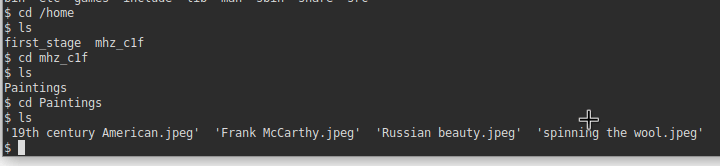
Looks like we are able to access their home folder, and there are some image files inside! I’ve recently done another CTF called DeathStar which involved a form of steganography. Steganography is a way to conceal data, text, or an image inside another file, such as an image. Perhaps there are some hidden messages in these files.
I went to my local BackBox terminal (outside of the SSH session), and used SCP to download these images to my local machine.

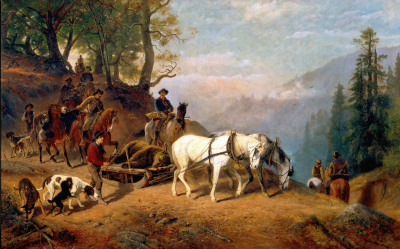


scp -r first_stage@192.168.56.102:/home/mhz_c1f .Once the files were on my local machine, I used the steghide tool to identify if there was any steganography involved here.
steghide extract -sf filename.jpeg

This extracted a file called remb2.txt! Let’s have a look at the contents.

Here we go. This looks like another username/password. Let’s try changing to this user in our SSH session.
su mhz_c1fIt worked! Let’s repeat the SUDO, SUID, and 0777 checks now that we’re logged in as a different user (see above). I initially repeated the SUDO check.
sudo -l
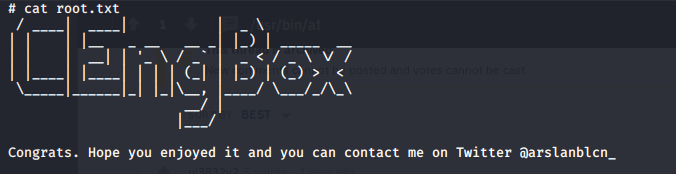
That’s it. This shows we can run “all” commands using SUDO. I can this command, and I was suddenly the root user:
sudo su -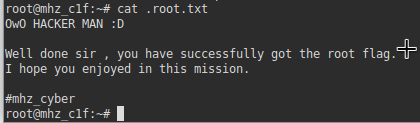
I suppose this CTF is different, in the sense it isn’t a simulated/realistic hacking exercise, but is instead designed to take you through the different methods you might find useful in future (port scanning, using tools such as DIRB, steganography, and privilege escalation using sudo). I hope you found this walk-through useful.