Categories
CTF's My CTF's

Insanity – CTF

Welcome to Insanity – my fifth CTF. There is one flag on this CTF. Your objective is to gain root access.

Download Now

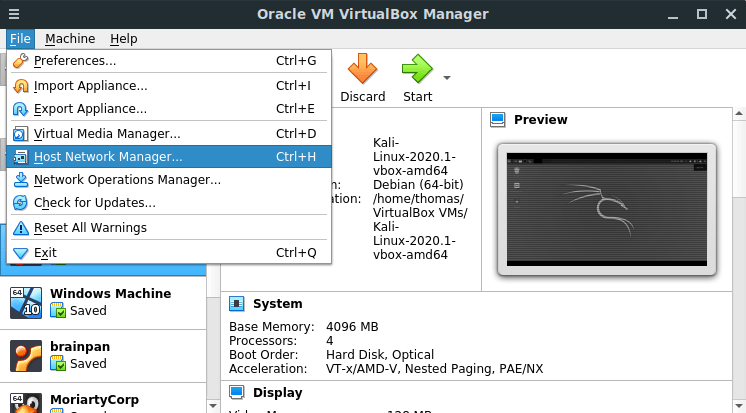
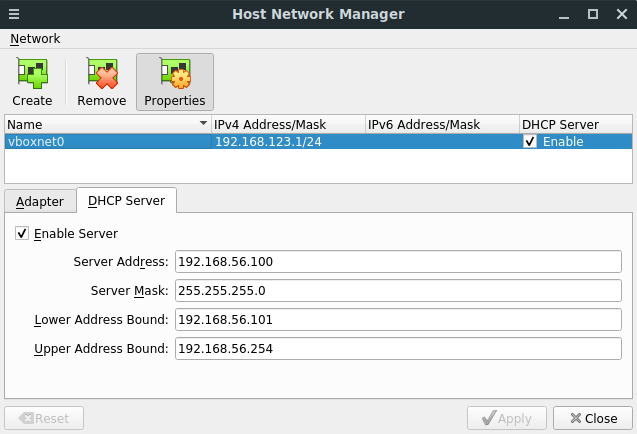
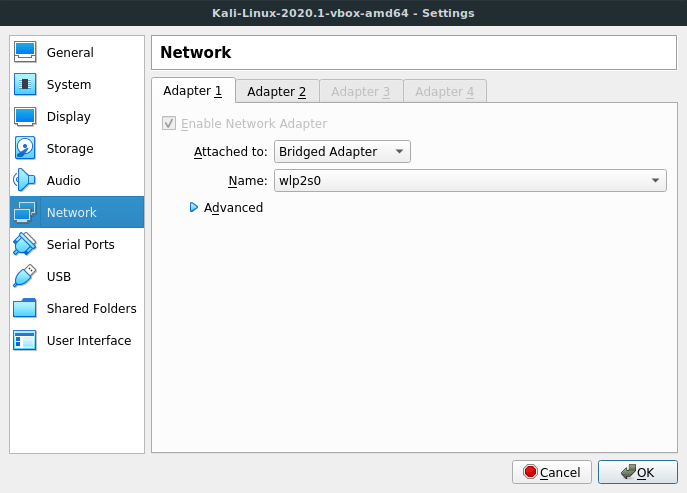
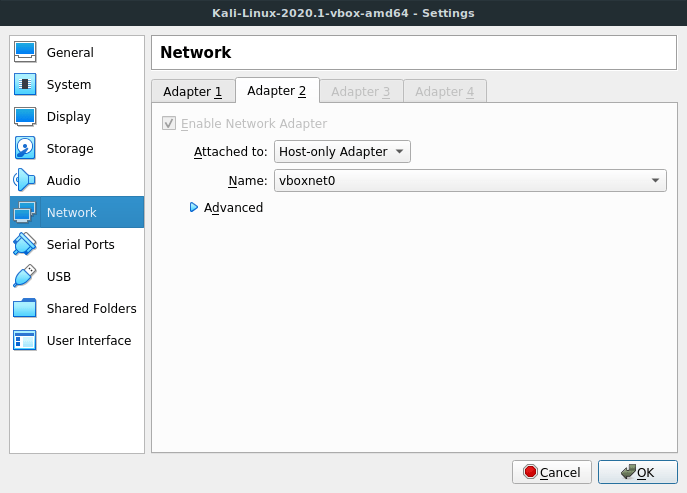
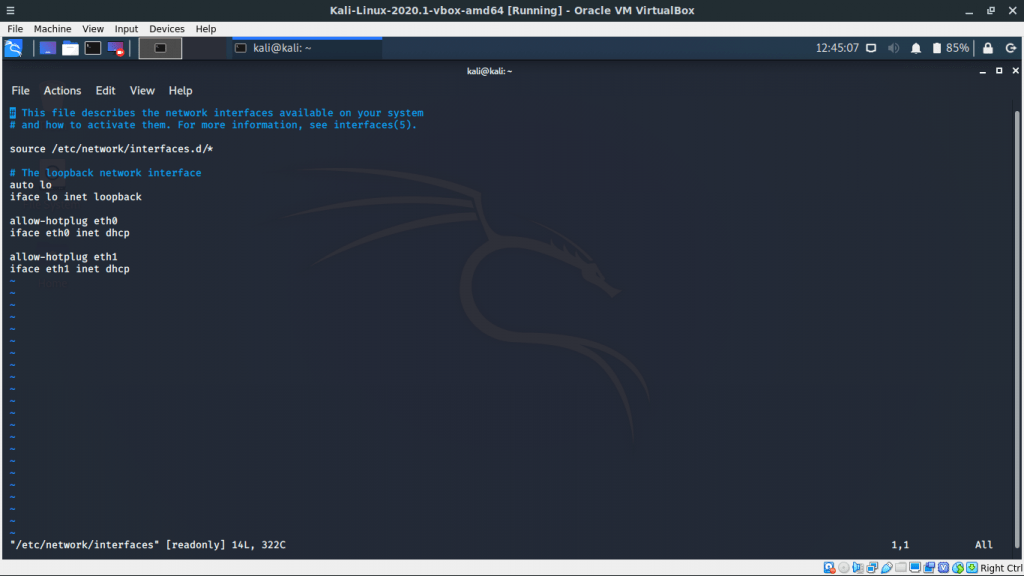
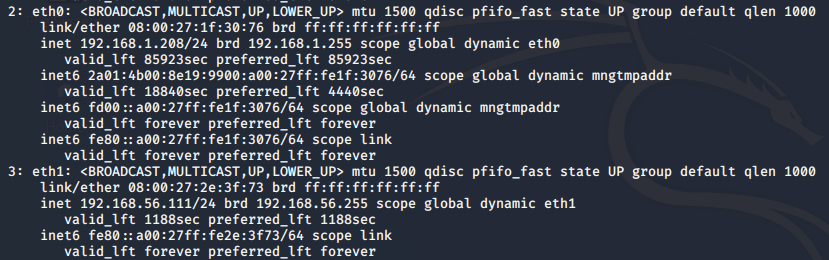
This CTF is rated as 5/5 for difficulty. What makes this CTF difficult is not necessarily the types of vulnerabilities you will find – instead, it’s the process of exploiting them. DHCP is enabled – this CTF has been tested on VirtualBox only, though I don’t think there’ll be issues if you run it with VMWare.

Synopsis

A web hosting provider has asked you to test their security. Can you find the vulnerabilities on their server and gain root access? If anyone wants to submit a written report for this, I’d give it a read and potentially publish it on this blog! 🙂

Note about hints

Please note, I will not be giving out hints for this CTF until at least the 30th August 2020. Try harder.

Edit: A few people have joined my Discord Server to share information (which is absolutely fine). Feel free to join and discuss ways to hack this CTF.

Download now

You can download Insanity here.

SHA-256: 75819bda88013d13465c9ec4145d56470378450e8c6c0c6faa8c72503a049850

How hard did you find Insanity?

View Results

Loading ... Loading ...
Categories
Tutorials

Network Connectivity between Kali and CTF machines

I always recommend people run CTF machines in ‘host-only’ mode to ensure they don’t have an internet connection. You may be wondering though how to ensure your Kali machine can have an internet connection, whilst retaining a network connection to the CTF.

If you are using VirtualBox, you can achieve this with two network adapters. Firstly, ensure you have a host network adapter setup. Open the file menu, and visit ‘Host Network Manager…’.

If you can’t see a network adapter in the list, Click ‘Create’. Once created, ensure the DHCP Server tick box is ticked. You may apply your settings and your network adapter is ready to use.

On your CTF virtual machines, you need to ensure the ‘Host-only adapter’ is set under the network settings:

This should be the only network adapter attached to your CTF VM.

Then, on your pen-testing/Kali machine, ensure you have one adapter set to ‘Bridged’, and then a secondary adapter set to ‘Host-only’.

Nearly done – just a few final steps.

By default, Kali doesn’t like having two connected network adapters at the same time. To do this, boot your Kali machine, and edit the /etc/network/interfaces file. In here, you need to statically declare your network interfaces:

As you can see, there are two sets of lines here for your two network adapters.

allow-hotplug eth0
iface eth0 inet dhcp

allow-hotplug eth1
iface eth1 inet dhcp

You may notice the first set is already listed. Just add what is missing and you should be good to go. By the way, your network interfaces may be named slightly different. If you have any issues with these steps, you can verify the names of your network interfaces using the ‘ip addr’ command and adjust these steps accordingly. Once they have been added into the file, either reboot, or run the following command:

ifup eth1

You should now have two live network interfaces on your Kali machine. One with an internet connection, and one that is on the same network as your CTF’s. Use the ‘ip addr’ command to verify your adapters: